If you are of a certain age your family’s archive of photos has probably been handed down to you. Hundreds, maybe thousands of prints, not to mention slides, and even keepsakes and memorabilia, like awards and medals. They may be more or less organized, and people and places may or may not be entirely recognizable.
How you’re going to store and organize those treasures is somewhat secondary to your first responsibilities: Preserving and digitizing them for future generations. What approach you take depends, in part, on how many items you have, what condition they are in, what format they take.
Flatbed scanners
If just about everything you need to preserve is a standard sized photograph, you’re in luck. A simple flat bed scanner, the type you’ll find on most all-in-one-printers, may be all you need. Of course, if your collection of photos runs into the thousands, the repetitive process of laying out the photos on the scanner, and then removing them, may be too time consuming or boring. At that point you’ll want to consider faster options.
Flatbed scanners are also good when some of your images (like newspaper clippings) are too fragile to run through a high-speed auto-feeding scanner, lest they rip or get mangled.
When scanning photos dust is the enemy and old photos seem to breed dust! For some reason looking at a photo in an album with a bit of dust on it is something we can overlook, but when it gets permanently scanned into an image it becomes an eyesore. If you’re using a flatbed scanner it is important to keep the glass free of fingerprints and dust. Believe it or not, even removing the photos from the scanner can leave micro-scratches over time, so try to get them on and off without dragging them.
You’ll want to keep an eye on build-up that accumulates between photo batches. I use a glass cleaner and a microfiber cloth from time to time, plus a small desktop “blower” with a brush attachment to keep things as pristine as possible. Be careful to follow your manufacturer’s instructions for cleaning, and be aware that sometime the underside of the glass can attract impossible to get-at dust. (One more tip: a pair of medical-style gloves can help you get the pictures on and off the scanner without leaving smudge marks on the glass.
Typically, scanners have a built in light that shines on the photos during the process. Slides and negatives can be scanned, but they require a light source to illuminate through the slides. Generally, this requires a stand-alone scanner; your all-in-one won’t do.
Moreover, scanning slides is cumbersome. In most cases you need to load the slides into some sort of a carrying tray, scan them, and remove them. There are some scanners that can handle a stack of slides, but they tend to be expensive, single purpose, and prone to jams. There are also single-slide-at-a-time scanners, but you probably won’t want to consider them an option if you have years’ worth of slides; it would just take too long.
I f you have a lot of slides it pays to look at the excellent Epson Perfection V600 Flatbed Scanner ($380). You can scan multiple slides at high resolution on a single pass with the supplied software. Just keep in mind that scanning slides at high resolution takes time, plus your slides may themselves have accumulated dirt and dust over the years, possibly requiring more than “automatic” photo restoration.
Scanning services
An alternative to a flatbed scanner is the use of a scanning service.
There are several companies that will scan your photos and slides. ScanMyPhotos.com, for instance, will scan a box of your photos (up to about 1800 prints) starting at 240 dollars. There are upcharges for digital storage, DVDs, and (oh yes) if you want your original photos back (you do!) Slides are even more expensive, around fifty cents a slide.
Obviously, the first question you’ll want to ask is “how many photos do I really want to scan?” Costs can quickly mount if you’ve inherited the entire family’s collections. You’ll need to weigh the value of having someone else do the work, versus the cost, flexibility, and time of acquiring the right hardware and then putting in the work to do it yourself.
Perhaps less obvious, is whether you’re willing to put potentially irreplaceable photos in the hands of a postal or package service.
Flatbed Alternatives
 I am a huge fan of the Epson Fast Foto scanners. If you have hundreds of family snapshots to scan it may be the fastest and easiest method to create a digital archive. You put a stack of prints in the feeder, tell the scanner where you want the prints to be saved, and in a matter of seconds the job is done. At $499, the Epson FastFoto FF-680W Wireless High-Speed Photo and Document Scanning System, isn’t inexpensive, but the rate at which it burns through photos make it worth the price if you are planning on scanning a large number of prints. The software is excellent and easy to use, addressing the storage of photos in organized folders and photo restoration painlessly. Images can be scanned at up to 600dpi making it the perfect way to up-size your small prints into screen-filling digital files. I love that it has the ability to scan both sides of an image at a time. If someone has put a note about the image on the reverse side, it will come in sequentially to the scans.
The Fast Foto Series does have some limitations. You obviously can’t put a book through it or pages from a photo album or scrapbook. The size of photos it can manage has an upper limit of 8”x10”. Finally, I would be careful of putting fragile clippings in the device, even in the supplied carrier.
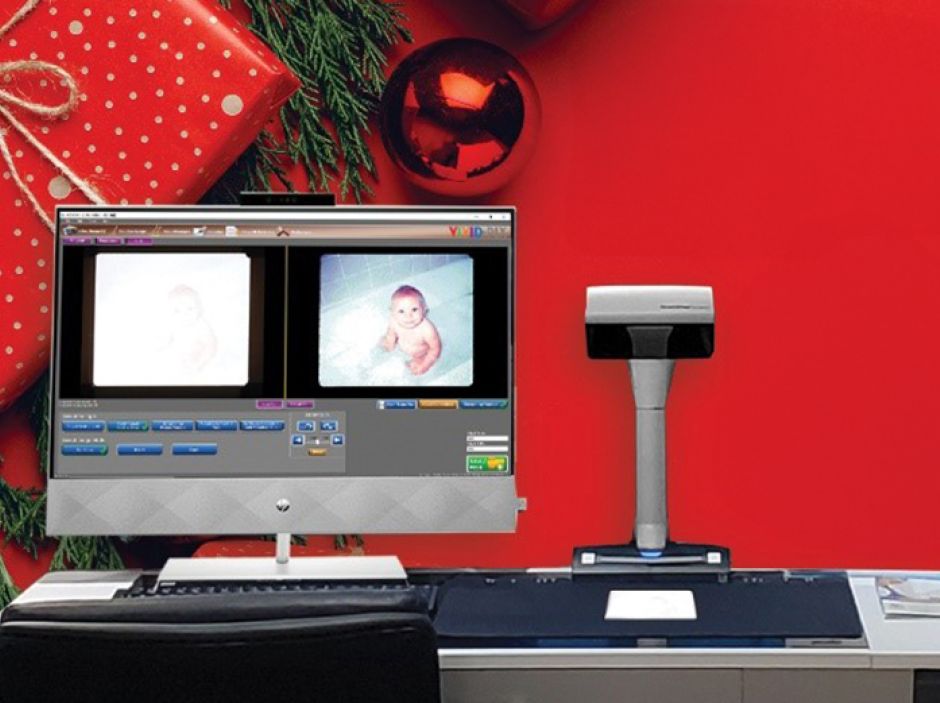
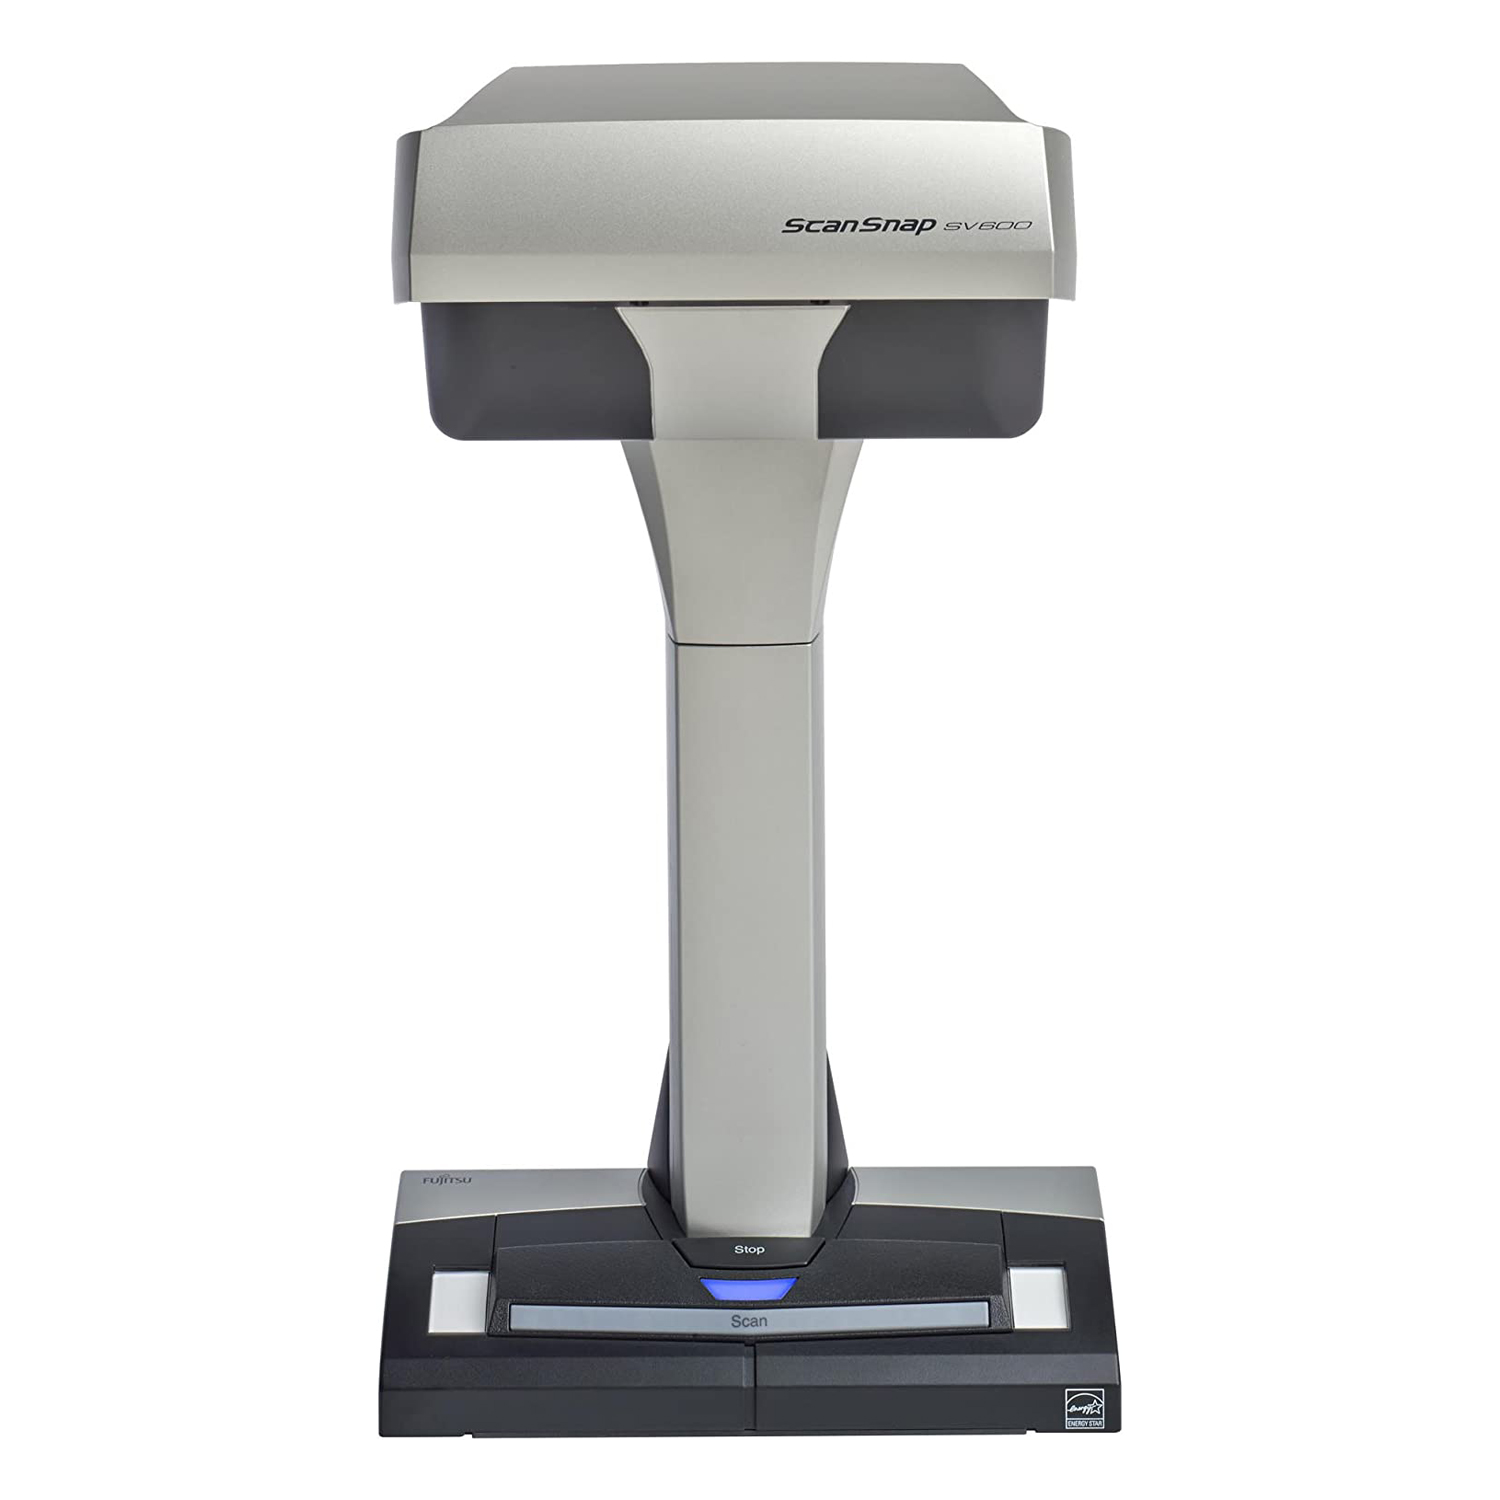
I’ve recently tested the home version of the Vivid-Pix Memory Station a relatively new type of scanner for the home market. It resembles a camera integrated into a tripod. Place the object you want to scan on a supplied black cloth and it scans them almost as fast as you press the button! It can easily scan multiple photos at a time as long as they are each separated by about a half an inch. You don’t have to be overly careful of putting the images square to each other, the software automatically crops out the individual images and straightens them.
 If your old photos are warped or bent Vivid-Pix suggests using an optional Optium® Museum Acrylic to flatten them out. The accessory, made of non-reflective materials, does a great job, and can be used with books and albums to help flatten them out.
The software in the “home” version was something of a work in progress as this review was written. It worked, but had some rough edges compared to the very slick Epson Fast Foto. The user interface is a bit dated, looking more like software from the WayBack machine than today. It needs to be modernized and visually simplified. That said, within a short time I had the hang of it and was able to scan multiple images faster than ever.
One thing I really appreciated is that the program keeps multiple copies of each image: an original and a “photo-restored” version. This is important because you really want to keep an unmodified version of historical photos. As of this writing all versions of the photos go into the same folder. My suggestion is that each “type” of photo (original, restored) go into its own folder. That way it would be easier to import only one set into a photo library program such as Lightroom, without bringing in all the multiple versions. I also really missed the FastFoto option of specifying a date the photo was taken and embedding that into the digital files metadata. This ensures that when the library program sorts by date, the image of you playing with a ball from decades ago shows up with that year, and not the pictures from the current one.
One of the best features of the Vivid-Pix software is its ease in color correcting faded photos. You are presented with a grid that shows various versions of each image and you select from the one that looks best to you with a single click. From there you might make corrections in the software to saturation or contrast, but in most cases I thought the single click option on the grid to be the best choice.
A limitation of the software that will probably not be an issue for most home users, is that it only scans at up to 600dpi and produces only .JPG files. Most scanners give the option of higher quality .TIFF files as well. Today’s .JPGs are probably sufficient to get most family albums created, though if Ansel Adams is your grandfather, you may want to invest in the professional version of the software! I have created many photo books using .JPGs without an issue. There are times when I want larger versions of a print than 600dpi will allow, and for that I use software such as On1 Photo Raw’s excellent enlargement features that can upscale to almost any reasonable size.
This is the most expensive option discussed here with a starting point of $799.94, escalating to over a thousand dollars if you buy the extended warranty and highly recommended Optium® Museum Acrylic cover. On the other hand, it can take on many projects that no other consumer scanner can, particularly those involving books, periodicals, oversized documents, and three dimensional objects like medals and buttons. You will need a relatively large area near your computer to do the scanning as the black backing needs to be on a 16 by 20 flat surface inch. In addition you’ll need room for the scanning pedestal and a cable long enough to reach your computer. I set mine up on the dining table with a laptop and it worked flawlessly, even with overhead lights in the room, which I was concerned would create problems for the camera.
What are the next steps after you’ve got the pictures scanned? You’re probably want to be somewhat selective, so a photo organizer like Adobe Lightroom is probably a good first step. It can also be used to edit the photos. From there perhaps you’ll be saving your photos to a cloud service, sharing them with friends, assembling photo books like the one’s I’ve talked about from Blurb.com, and creating digital keepsakes.
But, the first step is getting things digitized and safely backed up. Don’t wait. You never known when tomorrow will be too late. True story: Not too long ago a hundred year’s or so of family pictures were tucked away in albums and drawers at my parents house. That all changed the night lightening set the place ablaze. Fortunately, we were able to save about ten percent of the images. But, let me tell you, you want to have your family archives digitally scanned and backed up (including using an off-site cloud service). Don’t wait for disaster to strike!